This is a quick guide to getting started with Xamarin.Forms Shell. I’ll show you how to create an app using Xamarin.Forms Shell, add a Flyout menu with an image header and add a new page. I’m going to assume that you are already familiar with Xamarin.Forms and Visual Studio 2019 or Visual Studio for Mac.
Shell was added to Xamarin.Forms in v4.0 and was released in May 2019. From the Release Notes, Xamarin describes Shell as “… a simplified way to express the structure and navigation for your application in a single file. No more dealing with different page types to handle setting up complicated navigation. It supports flyout menu, bottom tabs, top tabs, and an integrated search handler. A new URI based navigation routing system has been implemented in addition to the existing push/pop navigation service. Now you can route to any point in your application, no matter how deep, and handle navigation events to perform custom logic such as canceling the back action.”
The idea is that instead of using MasterDetailPage, TabbedPage or NavigationPage as the basis for your app, you can configure Shell to handle all of these different layout styles.
In addition to this, the pages within your app can be navigated-to using URIs, giving a route to every page in your app. This means that you could, for example, store the current page when the app shuts down and restore to that page at start up. This also allows you to provide deep links into a page in your app from a notification.
So let’s get started.
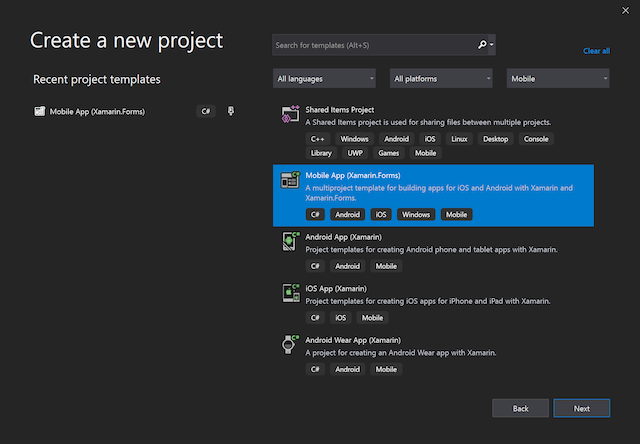
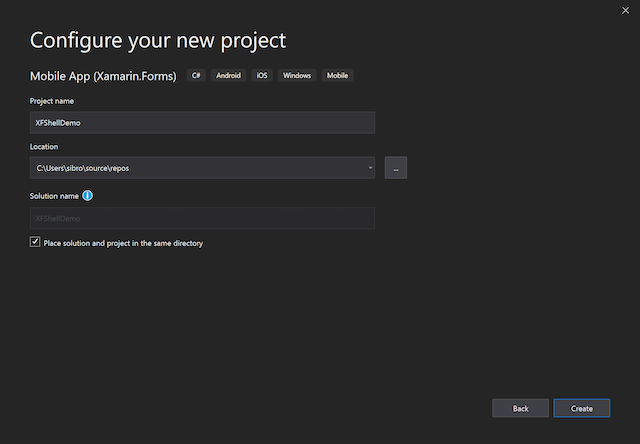
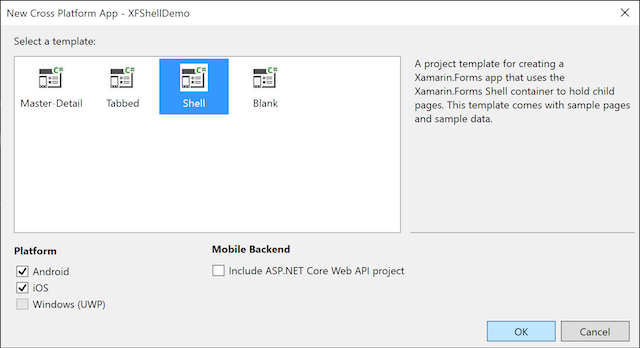
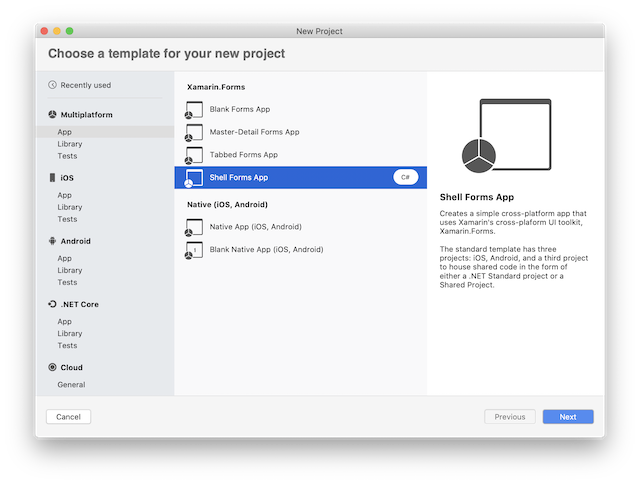
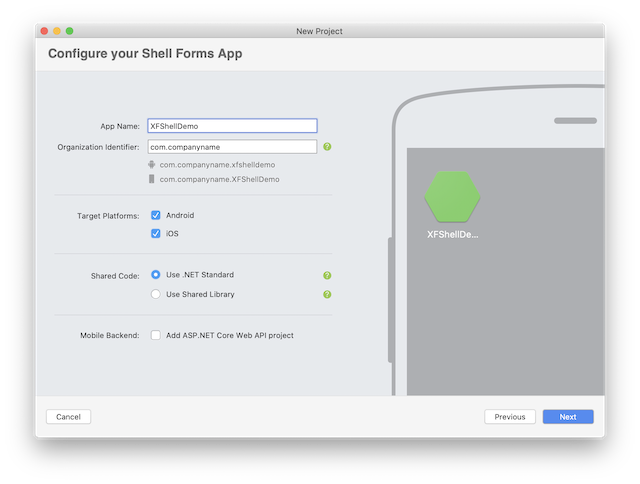
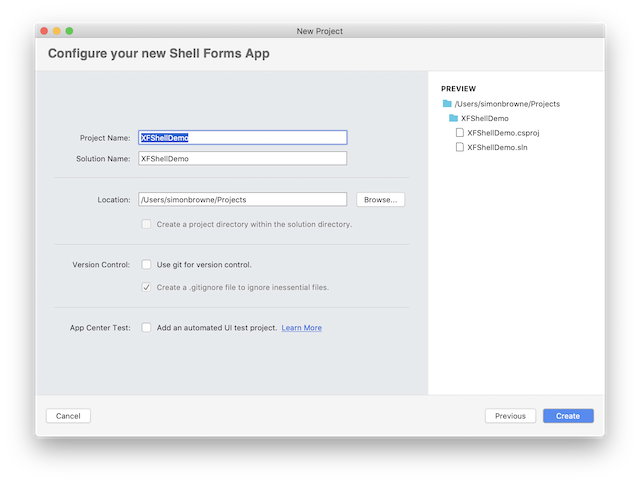
Create a new project, using the Xamarin.Forms Shell template:
VS 2019
VS for Mac
Build and run the app, to make sure that everything is working. This should give you a simple list view and an About page, with a Tab Bar at the bottom of the screen, allowing you to switch between the two pages.

We’ll now add a flyout menu and use that to switch between pages.
In AppShell.xaml, find the <TabBar> section:
<TabBar>
    <Tab Title="Browse" Icon="tab_feed.png">
        <ShellContent ContentTemplate="{DataTemplate local:ItemsPage}" />
    </Tab>
    <Tab Title="About" Icon="tab_about.png">
        <ShellContent ContentTemplate="{DataTemplate local:AboutPage}" />
    </Tab>
</TabBar>
Replace <TabBar> with <FlyoutItem>, including the Title and FlyoutDisplayOptions properties:
<FlyoutItem Title="XFShell Demo"
FlyoutDisplayOptions="AsMultipleItems">
<Tab Title="Browse" Icon="tab_feed.png">
<ShellContent ContentTemplate="{DataTemplate local:ItemsPage}" />
</Tab>
<Tab Title="About" Icon="tab_about.png">
<ShellContent ContentTemplate="{DataTemplate local:AboutPage}" />
</Tab>
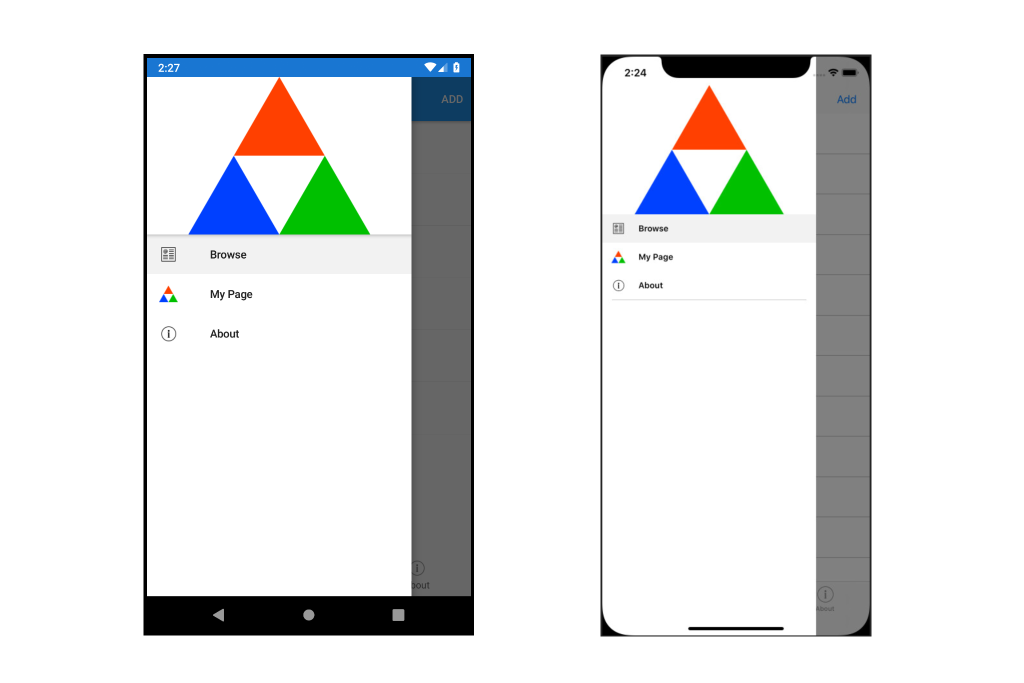
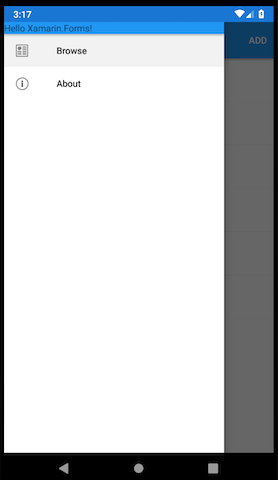
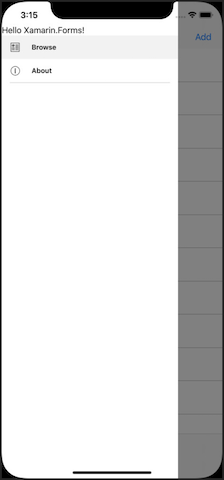
</FlyoutItem>Run the app and you should now see a hamburger menu which expands when tapped.
We’ll also add a header to the flyout:
- Add a new ‘Controls’ folder under your Xamarin.Forms shared code project.
- Within this folder, add a new XAML ContentView called ‘FlyoutHeader.xaml’.
- In ‘AppShell.xaml’, add a namespace for the new Controls namespace to the <Shell> tag:
xmlns:controls="clr-namespace:XFShellDemo.Controls"- Add the new Flyout Header control to the <Shell.FlyoutHeader> property, between <Shell.Resources> and <FlyoutItem>:
<Shell.FlyoutHeader>
    <controls:FlyoutHeader />
</Shell.FlyoutHeader>
Run the app and you’ll see the ContentView default text appearing at the top of the Flyout.
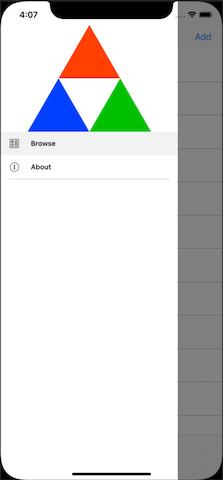
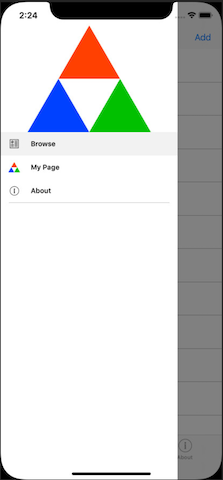
As the FlyoutHeader is just a plain old ContentView, we can design it however we want. Let’s replace the default text with an image:
- Add a png image to your iOS and Android projects.
- I used an image that was 404x350 pixels.
- Add the png to the project in the .Android/Resources/drawable folder.
- Add the png to the project in the .iOS/Resources folder.
- Open the FlyoutHeader.xaml file and replace the default <StackLayout> and <Label>:
<ContentView.Content>
    <Grid BackgroundColor="White">
        <Image Aspect="AspectFit"
                Source="the_name_of_your_png" />
    </Grid>
</ContentView.Content>- Within the <ContentView> tag, add the property:
HeightRequest="200"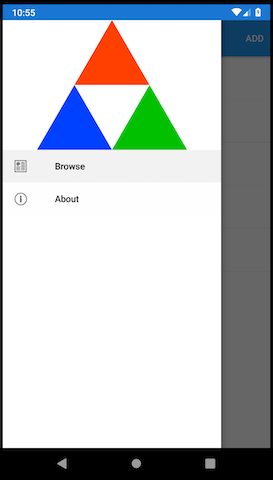
We can simplify the view hierarchy of the <FlyoutItem>. As our <Tab> only contain a single <ShellContent>, we can remove the <Tab> and let the implicit conversion operators handle the <ShellContent>:
<FlyoutItem Title="XFShell Demo"
FlyoutDisplayOptions="AsMultipleItems">
<ShellContent Title="Browse" Icon="tab_feed.png" ContentTemplate="{DataTemplate local:ItemsPage}" />
<ShellContent Title="About" Icon="tab_about.png" ContentTemplate="{DataTemplate local:AboutPage}" />
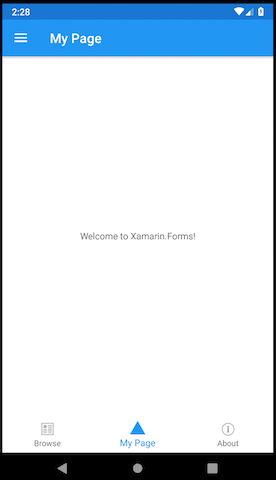
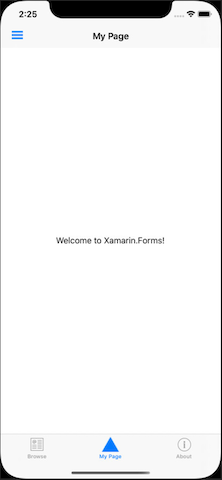
</FlyoutItem>Let’s add a new page.
- Under the Views folder, add a new View derived from ContentPage, named MyPage.xaml.
- Under the ViewModels folder, add a new class named MyViewModel.cs.
- Edit MyViewModel.cs and derive the class from BaseViewModel, then add a constructor and set Title = “My Page”:
class MyViewModel : BaseViewModel
{
    public MyViewModel()
    {
        Title = "My Page";
    }
}- In MyPage.xaml.cs, add a ‘using’ to reference the ViewModels namespace, add a reference to MyViewModel and set the BindingContext and MyViewModel reference to a new MyViewModel object.
- Your MyPage class should look something like this:
.
.
.
using XFShellDemo.ViewModels;
.
.
.
public partial class MyPage : ContentPage
{
    MyViewModel viewModel;

    public MyPage()
    {
        InitializeComponent();

        BindingContext = viewModel = new MyViewModel();
    }
}- In MyPage.xaml, set the <ContentPage> Title property:
Title="{Binding Title}"- Add png icons (32x28 pixels) to the Android and iOS resource folders, like before. These will be used on the Flyout menu and TabBar.
- Finally, add the new menu item into the Flyout/TabBar, between ‘Browse’ and ‘About’:
<ShellContent Title="My Page" Icon="tab_ThreeFourStudiosTriangles.png" ContentTemplate="{DataTemplate local:MyPage}" />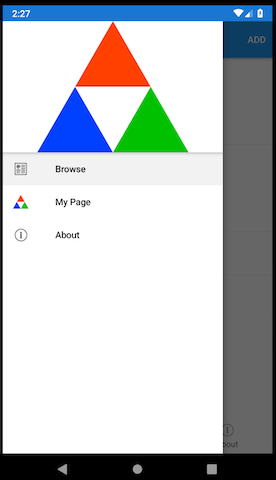
Finally, let’s add some routing navigation. We’ll save the current page in settings at shutdown and restore to that page at startup.
First, we need to name the routes within the shell. The <FlyoutItem>, <Tab> and <ShellContent> all have a Route property, so we’ll name those in the AppShell.xaml:
<FlyoutItem Route="root" Title="XFShell Demo"
            FlyoutDisplayOptions="AsMultipleItems">
    <ShellContent Route="browse" Title="Browse" Icon="tab_feed.png" ContentTemplate="{DataTemplate local:ItemsPage}" />
    <ShellContent Route="my_page" Title="My Page" Icon="tab_ThreeFourStudiosTriangles.png" ContentTemplate="{DataTemplate local:MyPage}" />
    <ShellContent Route="about" Title="About" Icon="tab_about.png" ContentTemplate="{DataTemplate local:AboutPage}" />
</FlyoutItem>
Next, we’ll use the Xamarin.Essentials Preferences to store the current page route when the app shuts down and to navigate to that page when the app restarts. You can find the current page route by using the Shell.Current.CurrentState.Location property. You can navigate to a page using Shell.Current.GoToAsync(). In App.xaml.cs:
.
.
.
using Xamarin.Essentials;
.
.
.
protected override void OnStart()
{
    var myRoute = Preferences.Get("my_route", "");

    if (myRoute != "")
    {
        Shell.Current.GoToAsync(myRoute);
    }
}

protected override void OnSleep()
{
    var myRoute = Shell.Current.CurrentState.Location.ToString();
    Preferences.Set("my_route", myRoute);
}
Now, when you restart the app, it will return to the page it was on when it was shutdown.

There’s more to Shell than what I have covered here, including adding top tabs within a page and the ability to add search functionality to the top of a page.
See the official Microsoft documentation of Shell here: https://docs.microsoft.com/en-us/xamarin/xamarin-forms/app-fundamentals/shell/
You can find the source code to this project on GitHub here: https://github.com/Simon3FourStudios/XFShellDemo